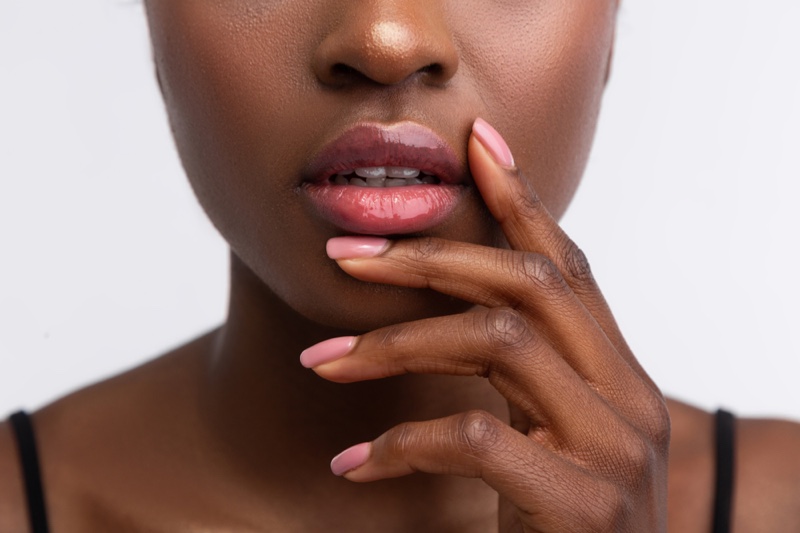
With these easy DIY steps, the best nail salon in your neighborhood might simply be your living room.
From gel manicures to trendy nail arts to French tips, regular visits to your local nail salon can be a great way to indulge in self-care. However, it is not always practical, or in these unusual pandemic times, even an option.
There’s never a bad time to learn how to do a manicure at home. Not only does it ensure having salon-quality nails whenever you please, but it can also have therapeutic benefits.
Today, we’re sharing ten simple steps for DIY manicures that will guide you through the process of creating an Instagram-worthy manicure on your own. So let’s get started!
Step 1: Gather These Essential Tools
Before you sit down to do your nails, make sure to have the following items:
- Nail polish remover
- Cotton swabs or pads
- Emery board and nail buffer
- Nail clippers
- Cuticle pusher and nippers
- Cuticle/callus remover
- Nail/hand moisturizer
- Nail primer
- Nail polish
- Clear topcoat
Step 2: Prep Your Nails
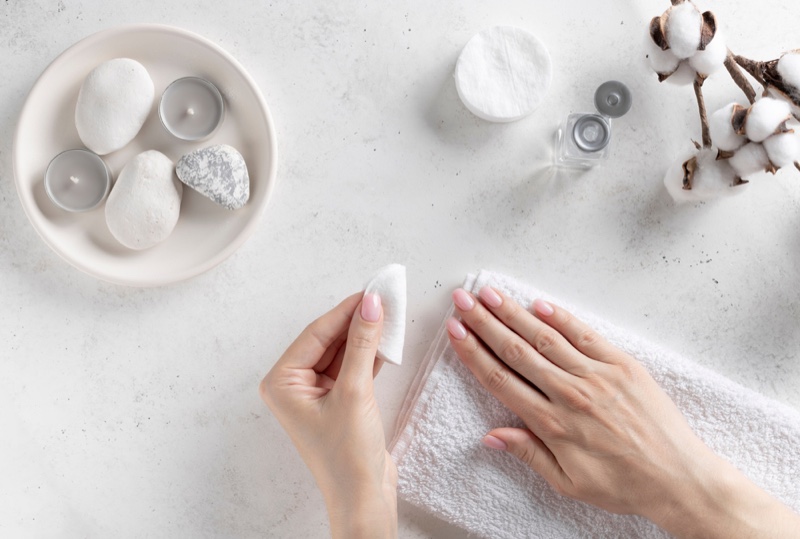
Whether you’re wearing nail polish or not, any manicure begins with a thorough swipe with a cotton swab or pad, soaked in nail polish remover. Not only does it remove nail polish, but it also removes any natural oil in your nails. This is the key to get lacquer to stay put.
To get the best results, it is recommended to use an acetone-based nail polish remover. It removes polish with less rubbing and scrubbing on the nail bed.
Step 3: Shape Your Nails
Now it’s time to smooth your nails into the shape you desire. If necessary, cut them first to even out the length. Then gently file them into shape. A square-rounded nail shape or a slightly rounded edge is usually the best way to go; however, you can be as creative as you want.
To minimize splintering, avoid metal or extremely coarse nail files. Instead, pick a crystal nail file or a gently abrasive emery board. Then to ensure an even surface, smooth the sides and tops of the nails with a lightly abrasive buffer.
Step 4: Soak Away
Add a bit of shampoo or face cleanser into a bowl of warm (not too hot) water and place your hands in it. Soaking the cuticle is an important step, but remember that over-soaking can damage your nails and skin, so limit this step to five minutes or less.
Step 5: Clean Off Cuticle Residue
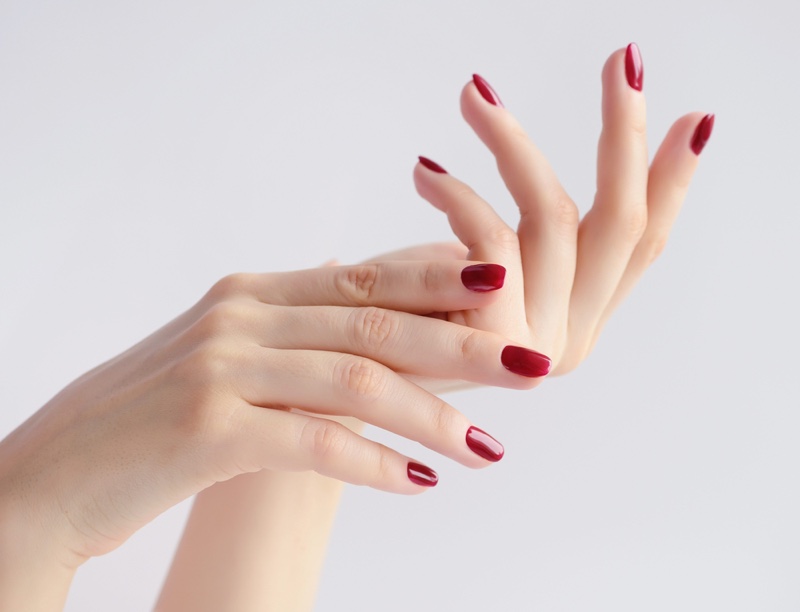
Apply a bit of cuticle remover, then use the cuticle pusher to slowly push the cuticle back away from the nail. Avoid pushing too far as it can fray the cuticle or damage nail growth.
Be careful not to cut, force, rip, tear, lift, pull, or clip into the cuticle in any way. Simply use a pair of metal cuticle nippers and nip off the free edge. The cuticle protects the nail bed from all kinds of problems; therefore it is better to underdo this step rather than overdoing.
Now, remove hangnails around the sides of the nail. But again, be careful not to cut into the skin too deeply or cut into the nail itself.
Step 6: Add a Nail Primer
Now apply a nail primer over the nail’s surface. The main goal of this step is to create a dry, smooth base for the following nail products to adhere to the nail beds and prolong your nail service. The best nail primers are compatible with any nail products like nail polish, acrylics, gel, etc.
Step 7: Paint Nails in Layers
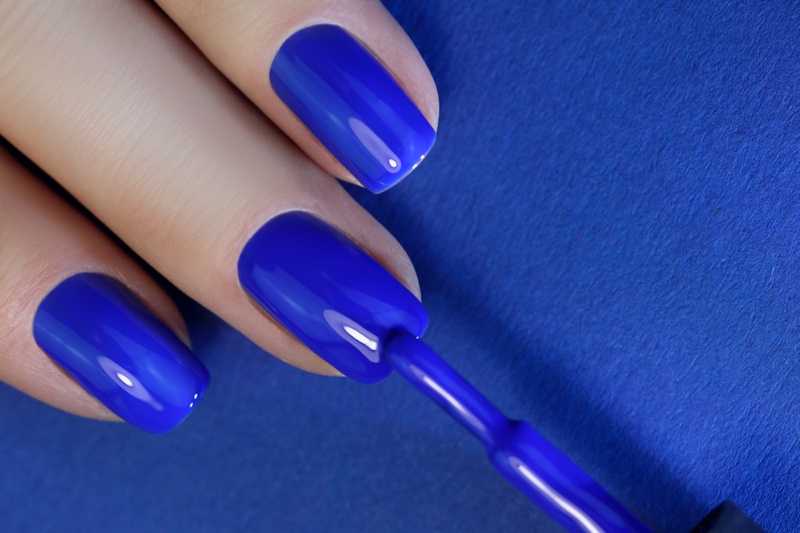
Now it’s time to apply nail polish. Roll, do not shake, the bottle to mix the polish without creating air bubbles. Then pull the brush out, wipe off the excess on the bottleneck, and apply a very thin coat.
Wait a few minutes for it to dry, then apply a second coat. This will even out any streaks in your first coat. Do not forget to swipe your brush along the tips of your nails to seal the edges of the polish.
In the case of pastel or sheer shades, a third coat may be required for full, seamless coverage. Just remember to keep it nice and thin.
If you’re new at painting nails, it is recommended to use a lighter shade of polish. This will make any mistakes less noticeable.
Step 8: Apply a Top Coat
A topcoat is a sealant containing hardeners that protect your manicure from chipping and give a shine to your nails. Skipping it will significantly shorten the lifespan of the manicure you have worked so hard on.
However, be careful when you put your topcoat on. They tend to tighten when they dry, so if you don’t put it on properly, it can cause little ridges and ruin the whole effect.
Step 9: Let Your Nails Dry
Wrap a pad or cotton swab soaked in nail polish remover from around end of your cuticles and gently trace around your nails to tidy up any wobbly edges or errors. You can fold the cotton pads into a triangle for more precise application.
Then dry your nails in front of a small fan for 15 to 30 minutes, depending on the thickness of your coats. Any old fan will work here; however, if you are a serious nail polish devotee, purchase a battery-operated, nail-specific one so you can set it up anywhere convenient.
Step 10: Moisturize
Lastly, massage a rich body butter, silky, fragrance-free oil, or moisturizing body balm into the cuticles and all over the hands to replenish and hydrate your skin.
In conclusion, if you have the correct tools and use the correct techniques, you can definitely give yourself a beautiful, salon-quality manicure. Of course, there is nothing wrong with getting a professional manicure for special occasions or simply to be pampered, but knowing how to do it yourself can help you secure a lot of money and time. Happy manicuring!
