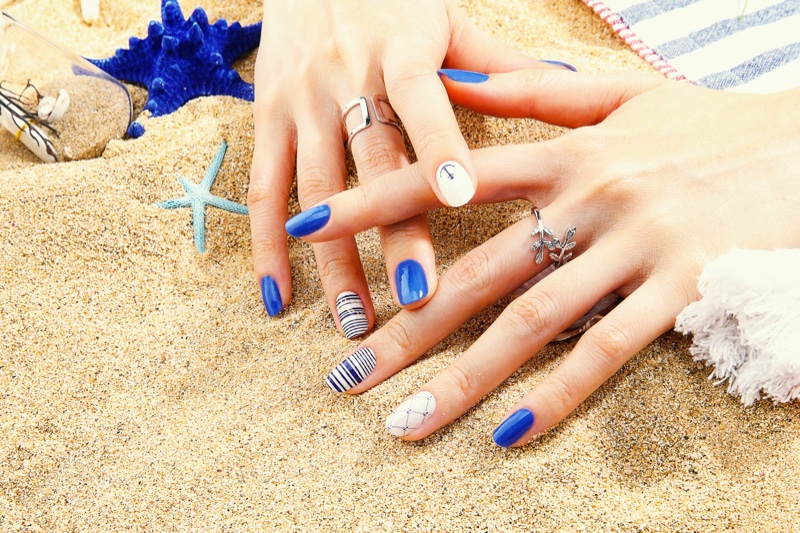
Life is not perfect for any of us, but hey, your nails can be! There is absolutely nothing a fresh manicure can’t fix!
If you have been to a nail salon, you know that these artists can put a dent in your wallet for grooming and painting your nails. However, that shouldn’t stop queens like you from getting your nails done because you know you deserve it!
Ever considered attempting nail art on yourself? Gear up as we present to you an epic nail art rookie guide with ten major mistakes to avoid for perfect-looking nails.
Ten Nail Art Mistakes to Avoid
Nail art requires specific painting techniques with proper procedures and tools that you should take very seriously if you want a neat job. We will take you through some of the rules that are commonly skipped, leading to a half-hearted finish.
If you are currently following the trend of ombre nail designs, and can’t wait to try them on, then this is your guide. Please pay attention to each point we have mentioned below. They are key to achieving that perfect finish.
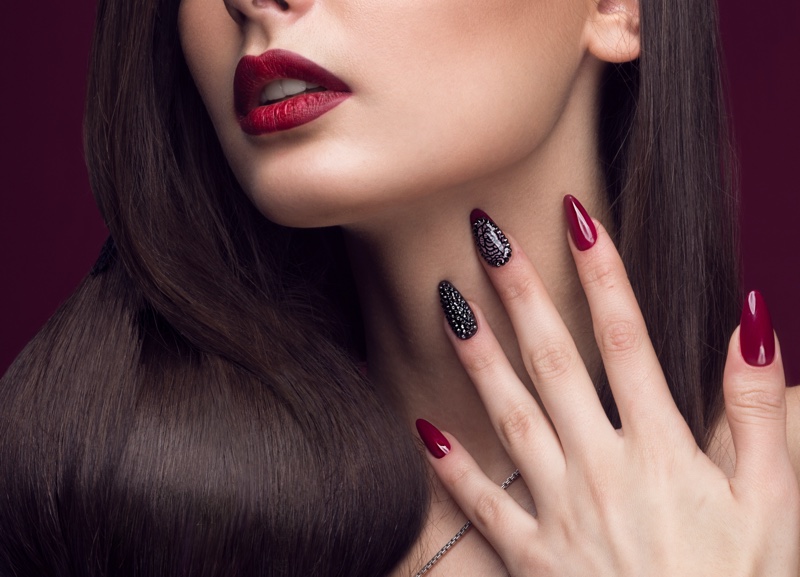
1. Not Spending Money on Quality Nail Polish
This is the first prerequisite of attempting nail art. You must invest in good-quality nail polish. Usually, drug store nail colors are not the best ones, especially if you are a beginner trying your luck with nail art.
But if you are tight on budget, then the base color can still be regular store-quality ones. Never use old or expired nail polish as it ruins the surface of your nails immediately. You will have to re-do the buff and shine before you apply nail polish—what a waste of your time.
Tip: You’ll notice the difference in your coats if you use good quality nail polish as opposed to old or cheap ones. After all, these things don’t come with an unlimited shelf life.
If you don’t have a few good-quality nail colors on your dresser, then you might want to get some for this job. You don’t want to do a half-hearted job. Here’s an idea – think of the patterns or designs you wish to create, and buy the colors accordingly.
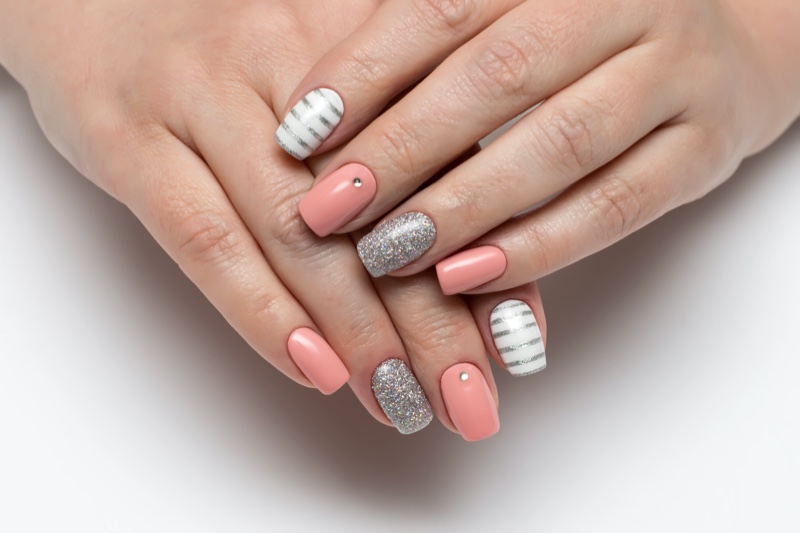
2. Skipping The Base Coat
So, this is a very silly mistake that most amateur nail artists end up making. Here’s what no one will tell you – the base coat is what protects your nails and allows better pigment for the nail polish you will use for your nail adventures.
Plus, the base coat ensures that the surface of your nails is even and smooth, minimizing bumps.
3. Wrong Set of Tools
An artist is only as good as her tools. This goes for nail artists too. If you are on the road to exploring your luck with intricate nail designs, you must invest in the right set of tools.
For detailed designs, you want to focus on precision. You’ll need sleek bristles and brushes. Otherwise, you’ll end up creating messy dots, lines, and patterns.
The best way is to start gathering information on what you might need to get the perfect nails. Look for information online if your designs demand certain tools, or just buy a nail art kit and take it from there.
Pro Tip: Always use separate brushes for dots, lines, and stripes. You’ll know why once you have seen the difference in the finish of your nails.
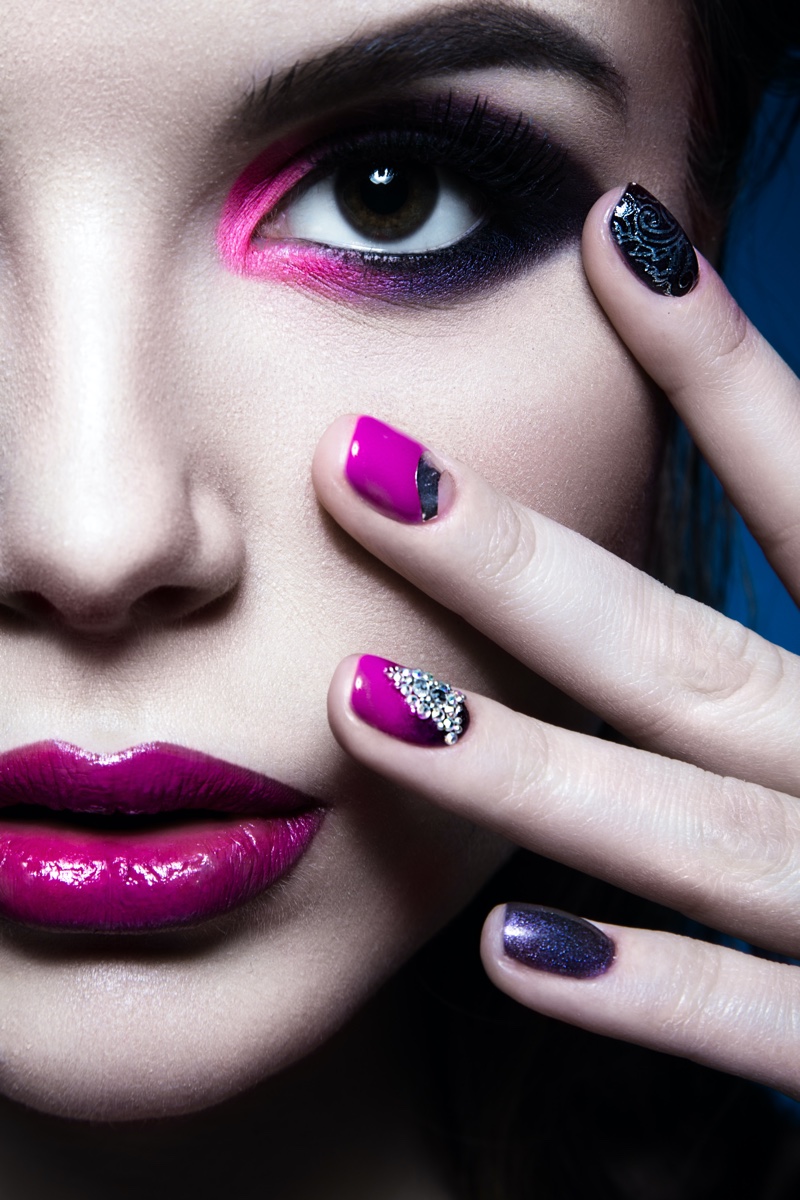
4. Don’t Push Your Artistic Skills
If you didn’t take art classes in school, then you know you need to pay extra attention to your strokes. And if you are good with brushes – then darling, do as you please.
But this particular mistake often ruins the whole nail art project. Know your limits, and it’s okay to admit that to yourself. Don’t over-promise yourself designs that might not be your forte.
Try to keep it simple. Follow the less is more rule if you know your hands are not as steady as you’d like them to be.
Practice first (not on your nails silly!) – try creating the design on paper. Feel the direction of the brushes and bristles. You’ll get the hang of getting salon quality nails at home after a few trials for sure. It’s not rocket science; let’s assure you that!
5. Using Oil on Nails Before Polishing
You must already know this by now because this is basic. And yes, we’ll judge you for not knowing what they are at this point. Cuticle oils are food for your nails. They are great for your nail health.
Yes, nail health is a thing, at least in 2022. Oil is fabulous but not exactly ideal to use before applying nail polish. It acts as a barrier that won’t let you apply the polish evenly.
It’s no secret that applying cuticle oil before your nail art will, in fact, ruin it for you. You may even start to notice that your nails are chipping and peeling off. So, just don’t!
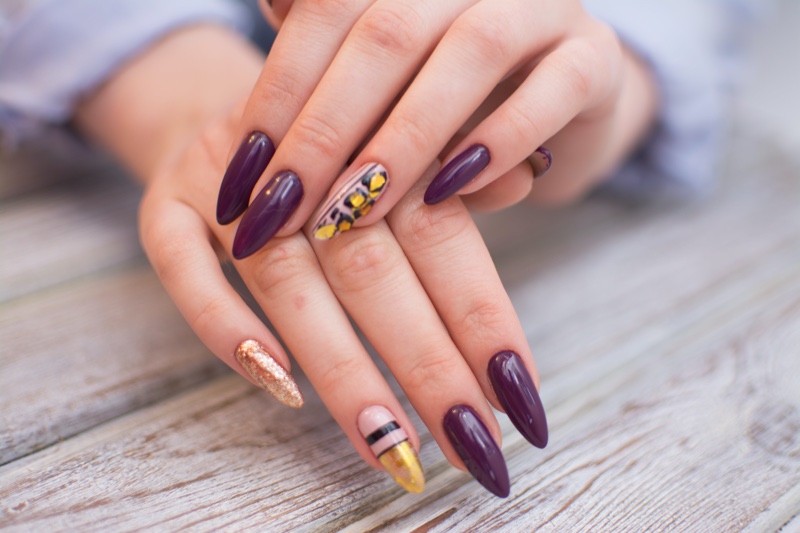
6. Bad Quality Stamps
“The bitterness of poor quality remains long after the sweetness of low price is forgotten.”
Now that we are on the list of don’ts – this is a huge one! If your nail art design demands stamps, then you should only get the well-done ones. Poor quality stamps are a big no!
It’s important to understand that all nail polish is not meant for nail art. If you are adamant that you wish to use stamps for your nail art design, make sure you buy a matte finish or a slightly thicker coat.
Don’t forget to clean your stamp, especially before every single use. You can clean the stamps with acetone; don’t forget to brush off the chipped varnish stuck on the stamp after your last use.
7. Say No To Q-tips
Use a corrector pen for nail art. That’s the sole purpose of this product. Anything else will mess the whole thing up. Q-tips are often used as an alternative, but it smudges more than it fixes. If you want to avoid getting frustrated, stick to corrector pens religiously!
Please know that you’ll end up making heaps of mistakes while you are at it, and some of these mistakes need immediate attention. Q-tips are cheap and easy to buy, but don’t let them fool you. If you don’t already own a corrector pen, just get one. It’s mandatory.
If you are able to finish the nail art without making any mistakes, then you are probably in the wrong profession; you should be a surgeon!
Tip: Don’t fall for the TikTok hack trap! There are some hacks on social media that advertise rectifying nail art mistakes using a Q-tip. Well, can we just say it’s not the best hack in the world for amateurs!
8. Applying Thick Coats
Thick coats make the whole thing ugly. They take a lifetime to dry, smudge upon every brushstroke, and just trigger anxiety. You don’t want a light pigmented nail polish that needs to be applied five times for the right color to show up. Disaster!
Your nail polish should be of a quality that works with two or a maximum of three coats. Don’t forget there are additional layers for your nail art. This is just the base, so refrain from creating a thick-coated finish.
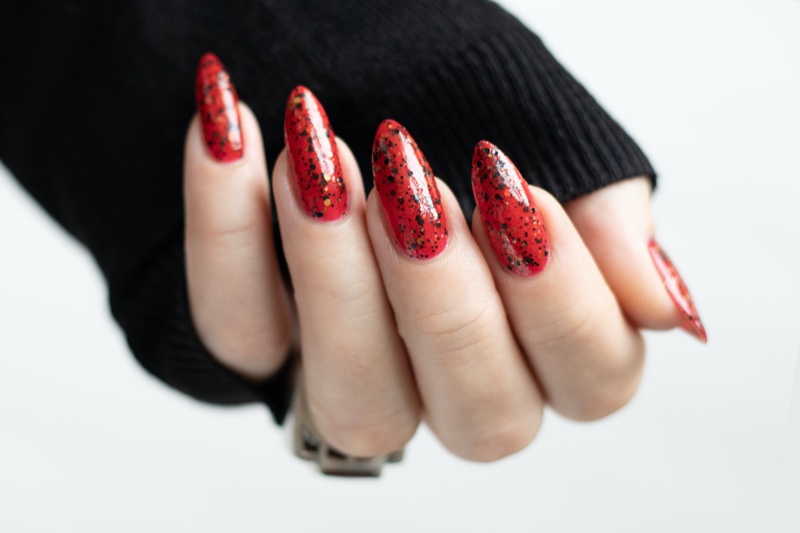
9. Forgetting the Top Coat
It is a crime to forget your top coat in the nail art world. The top coat is the final bow that makes everything pretty. Some people, for some reason, skip this step, and there’s no explanation for this kind of behavior, honestly.
We know time is money for most of us, and you don’t have all day to sit and wait for your nails to dry before applying the final coat. But here’s why you should, because your nail art will not be protected unless you use the top coat. It’s a protective layer that keeps everything intact.
You’ll be surprised at the number of weeks your nail art stays put!
10. Being Impatient
It’s essential to value your time, but remember, patience is key. There’s no reason to rush the steps. Take time for each step to be completed properly.
Every single coat has to be dried fully unless you are using a matte polish. Follow the 1-minute rule for the polish to dry. This is applicable for most good-quality nail polish, including some store-bought ones.
Conclusion
This nail art rookie guide for major mistakes to avoid has one final word for you. Don’t be disheartened if you fail the first time. The first time in the nail art race doesn’t really count.
As the saying goes, practice makes perfect. So keep at it until you’re a pro at the nail art game.
Hopefully, with this guide in your hands, you’ll avoid all the pitfalls and make your nails the subject of envy for many!
